Description
Key Features:
-
Plug & Play – No installation hassles, works instantly
-
4G LTE & 2G GSM – Wide network compatibility
-
Real-Time Tracking – See live vehicle location
-
Geo-Fence Alerts – Get notified when the vehicle enters/exits set zones
-
Route Playback – Review driving history
-
Vibration & Displacement Alarms – Instant alerts for unusual activity
-
Power-Off Alert – Notifies if device is disconnected
-
Wide Voltage Support – Works with 12V–36V vehicles
-
Compact & Discreet – Blends with vehicle interior
2. Packing List
Device host
Product manual
Product certification
3. LED Indicator status
4. Device application operation
4.1 Login Location Service Platform
Please log on to the dealer’s location service platform for corresponding settings and function
operations.
Default login account: IMEI/ID number (see the label paper on the product)
Default login password: offered by your dealer
4.2 Mobile phone APP login
Please enter the login interface after you have downloaded and installed the APP. Single product
login please select “IMEI/ID login” (IMEI/ID numbers are the 10 numbers below the barcode
which printed on a label paper that attached to the product). If you have an account, you can
choose “User Login” option (the user name is created by the manufacturer or dealer).
5. SMS Command Operation
Please use the mobile phone to edit the SMS command and send it to the SIM card number of the
terminal device. Please be noted that the spacing in the SMS command is inputted by the space bar,
the comma is the English input status format, and capital letters and lower case letters must be
inputted correctly according to the command requirements.
Example:admin123456 13512345678
Reply:admin ok
Binding master number (i.e. user’s phone number)
Command format: admin + password +spacing +user’s phone number
Example: admin123456 13512345678
Reply: admin ok
Product status query
Command format: CXZT
Reply: product current status
Restart the device
Command format: CQ
Reply: CQ ok
Restore factory settings
Command format: FORMAT
Reply: restore factory settings is successful, please re-bind the owner’s number
6. Startup instruction
Start up: insert the SIM card in the correct direction and the device will automatically turn on.
Please place the cut-off corner of the SIM card towards the front left, with the chip side of the card
facing down. (Please note the card shall prevail in kind)
Please place the cut-off corner of the SIM card towards the front right, with the chip side of the
card facing up. (Please note the card shall prevail in kind)
SIM card installation steps:
Please make sure the SIM card has prepaid value before using on the device.
The SIM card has activated the GPRS service.
The size of SIM card is 15*12mm (Micro card). Please refer to the picture below for the size and
type of the SIM card:
Standard card
When the SIM card is inserted, there is a feeling of spring rebound. Press the card to the bottom
until it can be stuck. (If there is no spring-back feeling, please check whether the card is inserted
in a reverse direction)
7. Hardware installation Instruction
7.1 Find the location of the vehicle OBD interface. The OBD interface is a 16-pin female interface
and the interface is trapezoidal.
Note: The place of the OBD interface is different for different models of vehicles. The following
figure shows the possible place of the OBD interface:
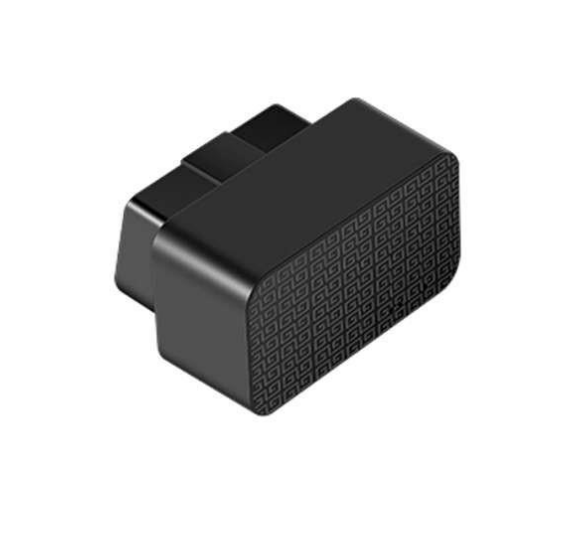
OBD interface of the device
Area A: Above the clutch pedal
Area B: Above the accelerator pedal
Area C: In front of the gear lever and under the center console
Area D: Behind the gear lever and in front of the armrest box
Area E: Under the co-pilot glove box
7.2 Connect to the OBD interface of the vehicle, which can be directly inserted or connected with
an extension cable (the special extension cable and double-sided stickers required for installation
can be selected at the dealer according to actual needs)
8. Precautions
Please use the accessories provided by the product manufacturer. Using any other accessories will
invalidate the warranty service. If the product is damaged due to using non-original accessories,
the product manufacturer will not assume any warranty responsibility.
The USB port on the device is dedicated for factory testing, it is not the charging port, and should
not be used for charging or other purposes.
Make sure that there is no electromagnetic wave absorbing material (such as metal,
explosion-proof heat insulation film) shielding above the installation place.
Do not expose the device to liquids or operate it with wet hands.
Do not throw the device into fire.
If the temperature is lower than -20℃ or higher than + 60℃, the device may not work.
When the device is directly plugged into the OBD interface and affects the driver’s operation,
please use an extension cable to lead it to a safe place.


Reviews
There are no reviews yet.